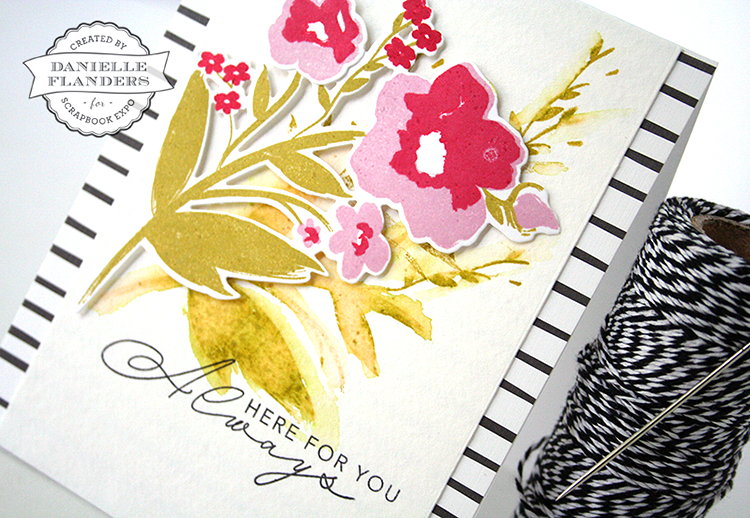
I have another post up over at the Weekly Scrapper blog for Scrapbook Expo. Today I'll be showing you how to create shadows with stamps, an ink pad, watercolor paper and a little bit of water!
Swing over to the Weekly Scrapper blog to see how to get the shadow look and play along with the technique. Would love to see what you are making!
Tuesday, August 11, 2015
Wednesday, August 5, 2015
The Creative Cardmaker...
I am so excited to announce that I will now be hosting a weekly blog column over at Scrapbook Expo's blog, the Weekly Scrapper! Each week, I'll post a handmade card or two along with techniques, videos and so much more to help inspire you in your card making. Hope you'll stop by!
Today I'm up with my first post. I've been asked a few questions on how I made the multi-colored embossed sentiments in my April 15th blog post, so I thought that would be a fun place to start. I'll share with you tips and techniques on how to achieve this multi-colored embossed effect.
Swing over to the Weekly Scrapper blog to see this new tutorial on achieving a fun look with these powders on your cards... and stop back each Tuesday for more card making ideas and inspiration!
And I have one more thing to tend to. I completely forgot to choose a random winner for the Craftsy class giveaway... Congrats Marianne-g! Please send me an email at dflanders71@hotmail.com to claim your free Craftsy class!
July 10, 2015 at 8:25 AM 
Today I'm up with my first post. I've been asked a few questions on how I made the multi-colored embossed sentiments in my April 15th blog post, so I thought that would be a fun place to start. I'll share with you tips and techniques on how to achieve this multi-colored embossed effect.
And I have one more thing to tend to. I completely forgot to choose a random winner for the Craftsy class giveaway... Congrats Marianne-g! Please send me an email at dflanders71@hotmail.com to claim your free Craftsy class!
I've been a fan of your cards for years. I would love to take your class.
Labels:
card,
cardmaking,
die cutting,
embossing,
stamping,
The Creative Cardmaker,
weekly scrapper
MFT Card Challenges...
Good morning! I have a special post today, as I am honored to guest design for My Favorite Things this month! Each Wednesday in August, I'll be posting a sketch and a card inspired by the sketch. Hope you can play along too! Here is the first sketch:
When I first looked at the sketch, I saw the four squares and decided to interpret that into four items. Then I grabbed a stamp set and matching dies to work with: the Count the Stars Clear Stamps and the Stars & Wishes dies by My Favorite Things. I went to die cutting 4 of the "Stars" words to use on my card and stacked them for a rainbow effect.
Four of the Star words ended up being too many, and I felt like it was too crowded on my card, so I ended up with three die cut words instead. To create a dreamy background, I stamped and embossed the little stars in white embossing powder. Then I used a felt pad and some aqua ink to rub over the star images. The effect is a dreamy, soft look that helps set off the die cut words!
Last, I stamped the sentiment on a strip, and instead of placing it under the focal point like in the sketch, I placed it over the top.
The sketch really gave me a starting point to start with, then I took it from there and went my own direction with it. See you next week with another sketch and card! Be sure to play along at MFT Card Challenges for your chance to win a prize from MFT!
Danielle
Subscribe to:
Posts (Atom)