

Here's how I made my own mist!
I used a Maya Road Mister Bottle and put in about 75 drops of Aqua Mist refill ink. (This is the ink that you refill your stamp pad with.) I mixed in about 1/2 cup of rubbing alcohol. That's it! Super easy!
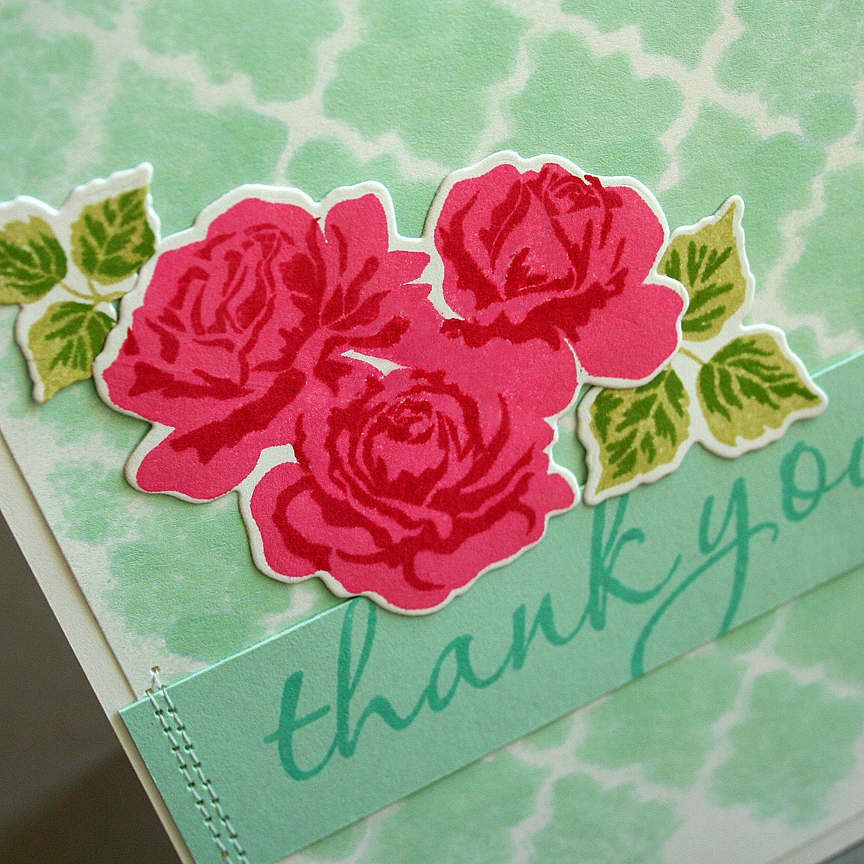
 Now I can mist to create a background. I die cut a piece of cardstock with the Quatrefoil Cover Plate die and placed it over white cardstock. Spray until you achieve the look you want.
Now you can leave it as is and trim it out (like I did) or you can try layering the cover plate over the top offsetting it a little for a layered look!

But I chose to leave mine plain for today, so you could see how it looks by itself with just the misting, however. (Just another idea for you to try in the future.) I added some die cut flowers from The Sweet Life and a strip of Aqua Mist cardstock with a "thank you" stamped from Think Big Favorites #5.
Hope you'll give mixing your own mists a try! Visit Nichole's blog for more mist ideas.


Thank You card:
STAMPS: The Sweet Life, Thing Big Favorites #5
INK: Aqua Mist, Hibiscus Burst, Pure Poppy, Spring Moss, New Leaf inks
PAPER: white and Aqua Mist cardstock
DIES: The Sweet Life, Quatrefoil Die Cover Plate
OTHER: Aqua Mist refill ink, Maya Road Mister Bottle, rubbing alcohol, machine stitching.
9 comments:
I like it plain and like how you faded it out towards the bottom. Very pretty card.
Beautiful! I like the project both ways-with and without the die cut cover plate.
So pretty, Danielle.
Really beautiful... and I too liked how it faded at the bottom.
This is beautiful! So sweet and romantic, I'm definitely going to have to try this technique!
so pretty!
Love the soft background.
I love the soft, fading away look of the background. So pretty, Danielle!
Gorgeous Danielle, love both options.
What a lovely design!!
Post a Comment